The Cocoa Daisy team members each made an "about me" layout for a fun Instagram hop. Here is the layout I made featuring pictures from my life, starting with my baby picture. I created the view master “reel” by tracing an 8 inch plate and cutting it out, then I punched the windows in the reel with a square shaped punch. I used cocoa daisy stamps to number each picture. I attached the reel with a brad so it turns. This is definitely one of the funnest pages I’ve made. I loved making it.
The August kit from Cocoa Daisy was my favorite so far. I LOVED all the typewriters.
I loved adding watercolor to this whimsical layout with the moon.
Here is a close up. My baby can't get enough of the moon right now. He loves going outside and finding the moon, day or night. And he squeals and says "moo, moo, moo!" So when I saw all the "I love you to the moon and back product, I knew I wanted to make a layout with Crew. I used a plate to trace the moon. There is a whole process video below:
Here is a layout in my summer mini album. I love the paper with the waves and the cute "ADVENTURE" paper. Perfect for my Bear Lake pictures.
This handsome guy has been "Just My Type" for 15 years now. Woot Woot
Here is another layout in my summer mini. You know me, I LOVE paper flaps. Quick video showing it better below:
And here is one more layout using pocket pages. I just love that card with the date on it. Thanks for stopping by, have a great day!
January's Cocoa Daisy kit was adorable. It had lots of pink, hearts, moons and butterflies. I can't wait to share what I made with the kit.
My husband and I will be celebrating our 12 year anniversary in a few weeks. With this romantic kit, I knew I wanted to make a layout about us.
That typewriter card had me at hello. It is the cutest! Here's a layout with the day in the life kit. It is the back side to the previous layout, which worked out great because that top left card is darling on both sides and I was able to utilize both sides! I love it when that happens. That tag was so fun to type on which went right along with the typewriter card. Overall, the layout is just some everyday moments with my kiddos.
Here's what our New Year's Eve looked like. There were lots of balloon popping, confetti throwing, and horn blowing. And it all happened around 9pm woot woot. I cut out the hearts from a 12x12 sheet for the top right card. I wanted to use that pink "2017" 3x4 card but it wasn't quite the right size for this layout, so I cut it into a pennant flag and added to a banner.
For my last project, I wanted to use this darling paper by Pink Paislee that was made up of a grid of lots of cute squares. I knew interactive paper flaps would be fun to go with the squares. I will let you watch the video below to see how I made it.
Using a 12x12 piece of paper, some white cardstock and cute numbers, I made an advent calendar with liftable flaps. (My supplies are from the November Cocoa Daisy kit). I am going to add a little something each day and make it a mini december daily. I will post more pictures as I add to the insides of the flaps in December.
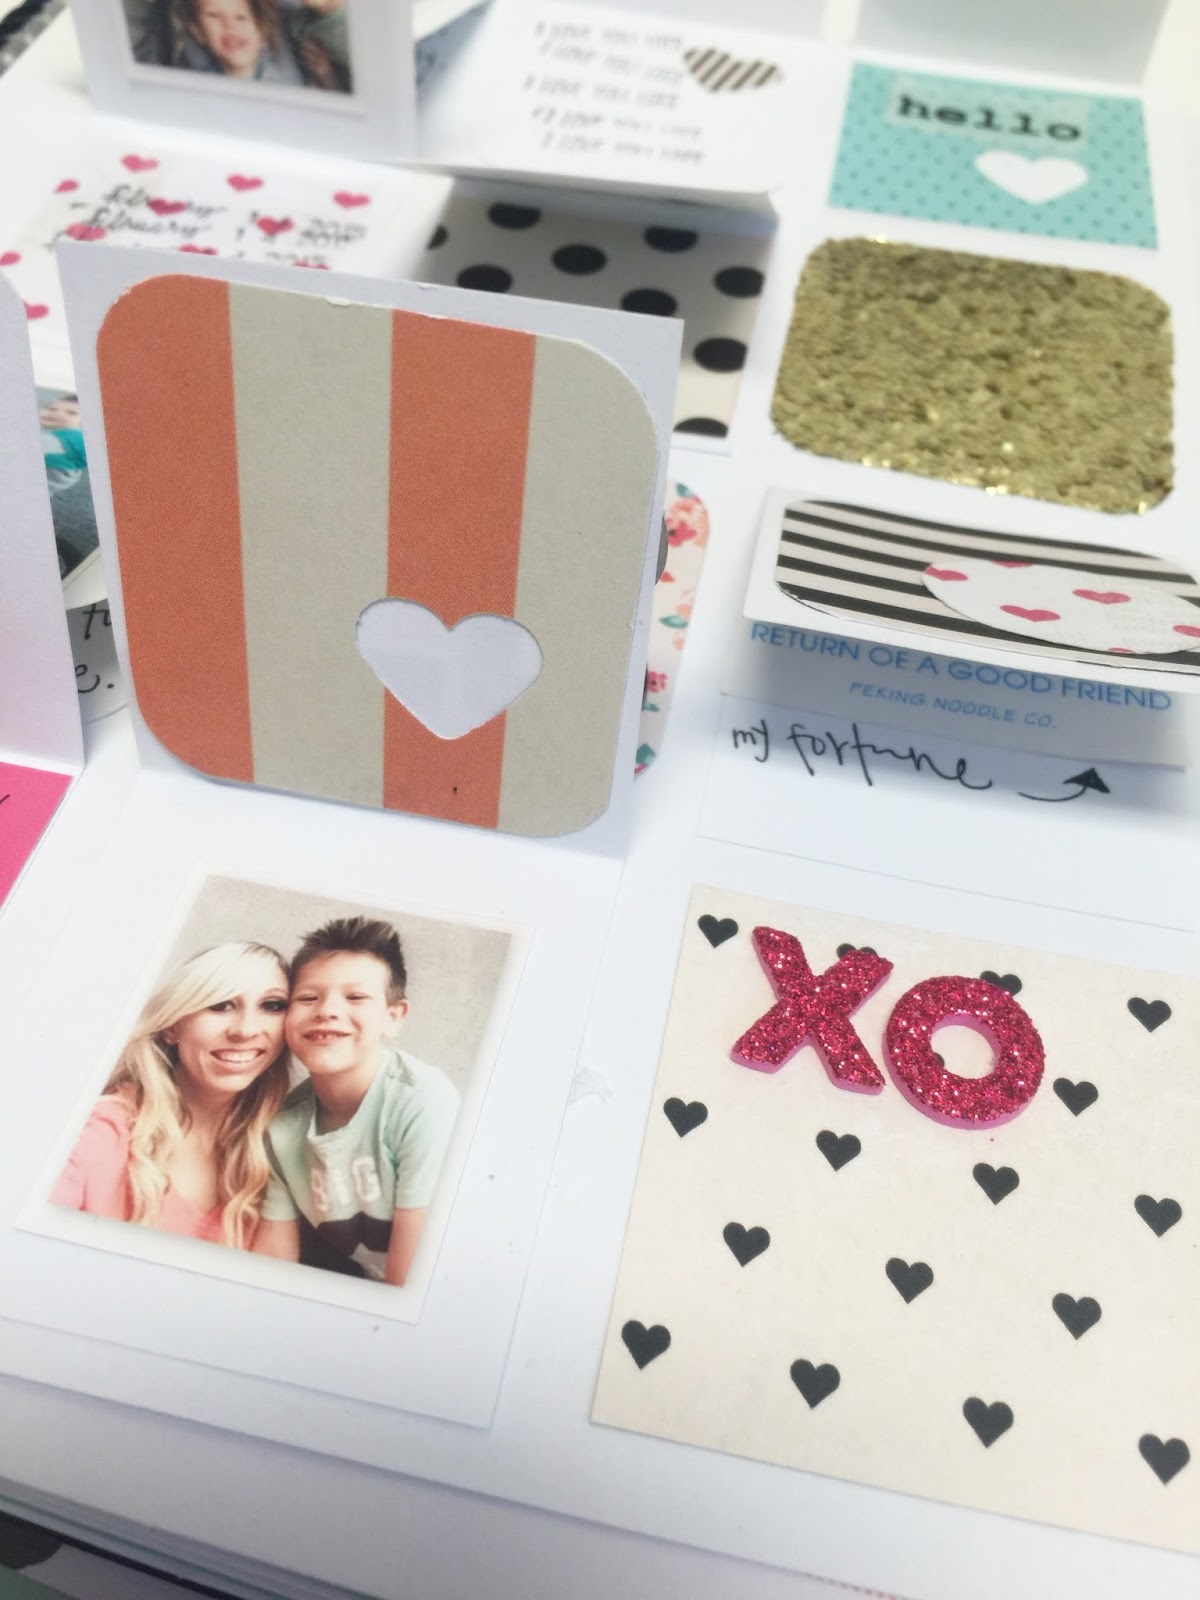
I love love interactive paper. I made these little flaps on a white sheet to go in my planner to sum up our month of february. It has been so much fun. I added little photos, some journaling, and even a fortune from my cookie. I will definitely continue playing with paper flaps in the near near future.
Here's a quick little video showing whats under the flaps.
Note: just for diversity, 3 of them are just flat and don't open.